Pull session ( back & bi’s )
Pull Day – Back & Biceps
A pull day targets all the muscles involved in pulling movements, focusing mainly on your back and biceps. These exercises work the posterior chain and arm flexors, building a stronger, more defined upper body.
The back muscles (like the lats, traps, and rhomboids) help with posture, pulling power, and overall strength, while the biceps assist in every pull motion.
Typical movements include pull-ups, rows, and lat pulldowns for the back, paired with curls for the biceps. This workout helps create that wide, V-shaped back and toned arms while improving pulling strength for other lifts and daily activities.
Barbell Row – Step by Step
Set Up – Stand with your feet shoulder-width apart, barbell on the floor in front of you. Grip the bar just wider than shoulder-width with an overhand or underhand grip.
Hinge Forward – Bend your knees slightly and push your hips back, keeping your back straight and chest up. The bar should hang just below your knees.
Engage Your Core – Brace your abs to protect your lower back. Keep your head in line with your spine.
Row the Bar – Pull the barbell towards your lower ribcage/upper waist by driving your elbows back, keeping them close to your body.
Squeeze at the Top – At the peak of the movement, squeeze your shoulder blades together for a second.
Lower with Control – Slowly lower the bar back to the starting position without rounding your back.
Repeat – Perform the desired number of reps, keeping form strict throughout.

Bent over barbell row
Bent-Over Bench Row – Step by Step
Set Up – Place a dumbbell or barbell near a flat bench. Stand with feet shoulder-width apart and bend forward at the hips until your torso is almost parallel to the floor. Rest one hand (and optionally one knee) on the bench for support.
Grip the Weight – With your free hand, grab the dumbbell (or barbell if doing both sides) using a neutral grip (palm facing in).
Engage Your Core – Keep your back straight, shoulders pulled back, and core tight to protect your spine.
Pull the Weight – Drive your elbow straight back towards your ribs, keeping it close to your body. Avoid shrugging your shoulders.
Squeeze at the Top – At the highest point, squeeze your back muscles for 1–2 seconds.
Lower with Control – Slowly lower the weight until your arm is fully extended, without letting your shoulder drop forward.
Repeat & Switch Sides – Complete all reps on one side, then switch to the other.

Bent over bench pull backs/ rows
Bent-Over Bicep / Hammer Curl – Step by Step
Set Up – Hold a pair of dumbbells at your sides with palms facing forward (bicep curl) or facing each other (hammer curl). Stand with feet shoulder-width apart.
Hinge Forward – Slightly bend your knees and hinge at the hips so your torso is angled forward about 45°. Keep your back flat and core tight.
Let Arms Hang – Allow the dumbbells to hang naturally toward the floor, elbows fully extended.
Curl the Weight – Keeping your elbows close to your torso, curl the dumbbells toward your shoulders using only your biceps — avoid swinging.
Squeeze at the Top – At the top of the curl, squeeze your biceps for 1–2 seconds.
Lower with Control – Slowly lower the weights back to the starting position, resisting gravity.
Repeat – Maintain the bent-over position for all reps to keep tension on the biceps.

Bicep/ hammer curls
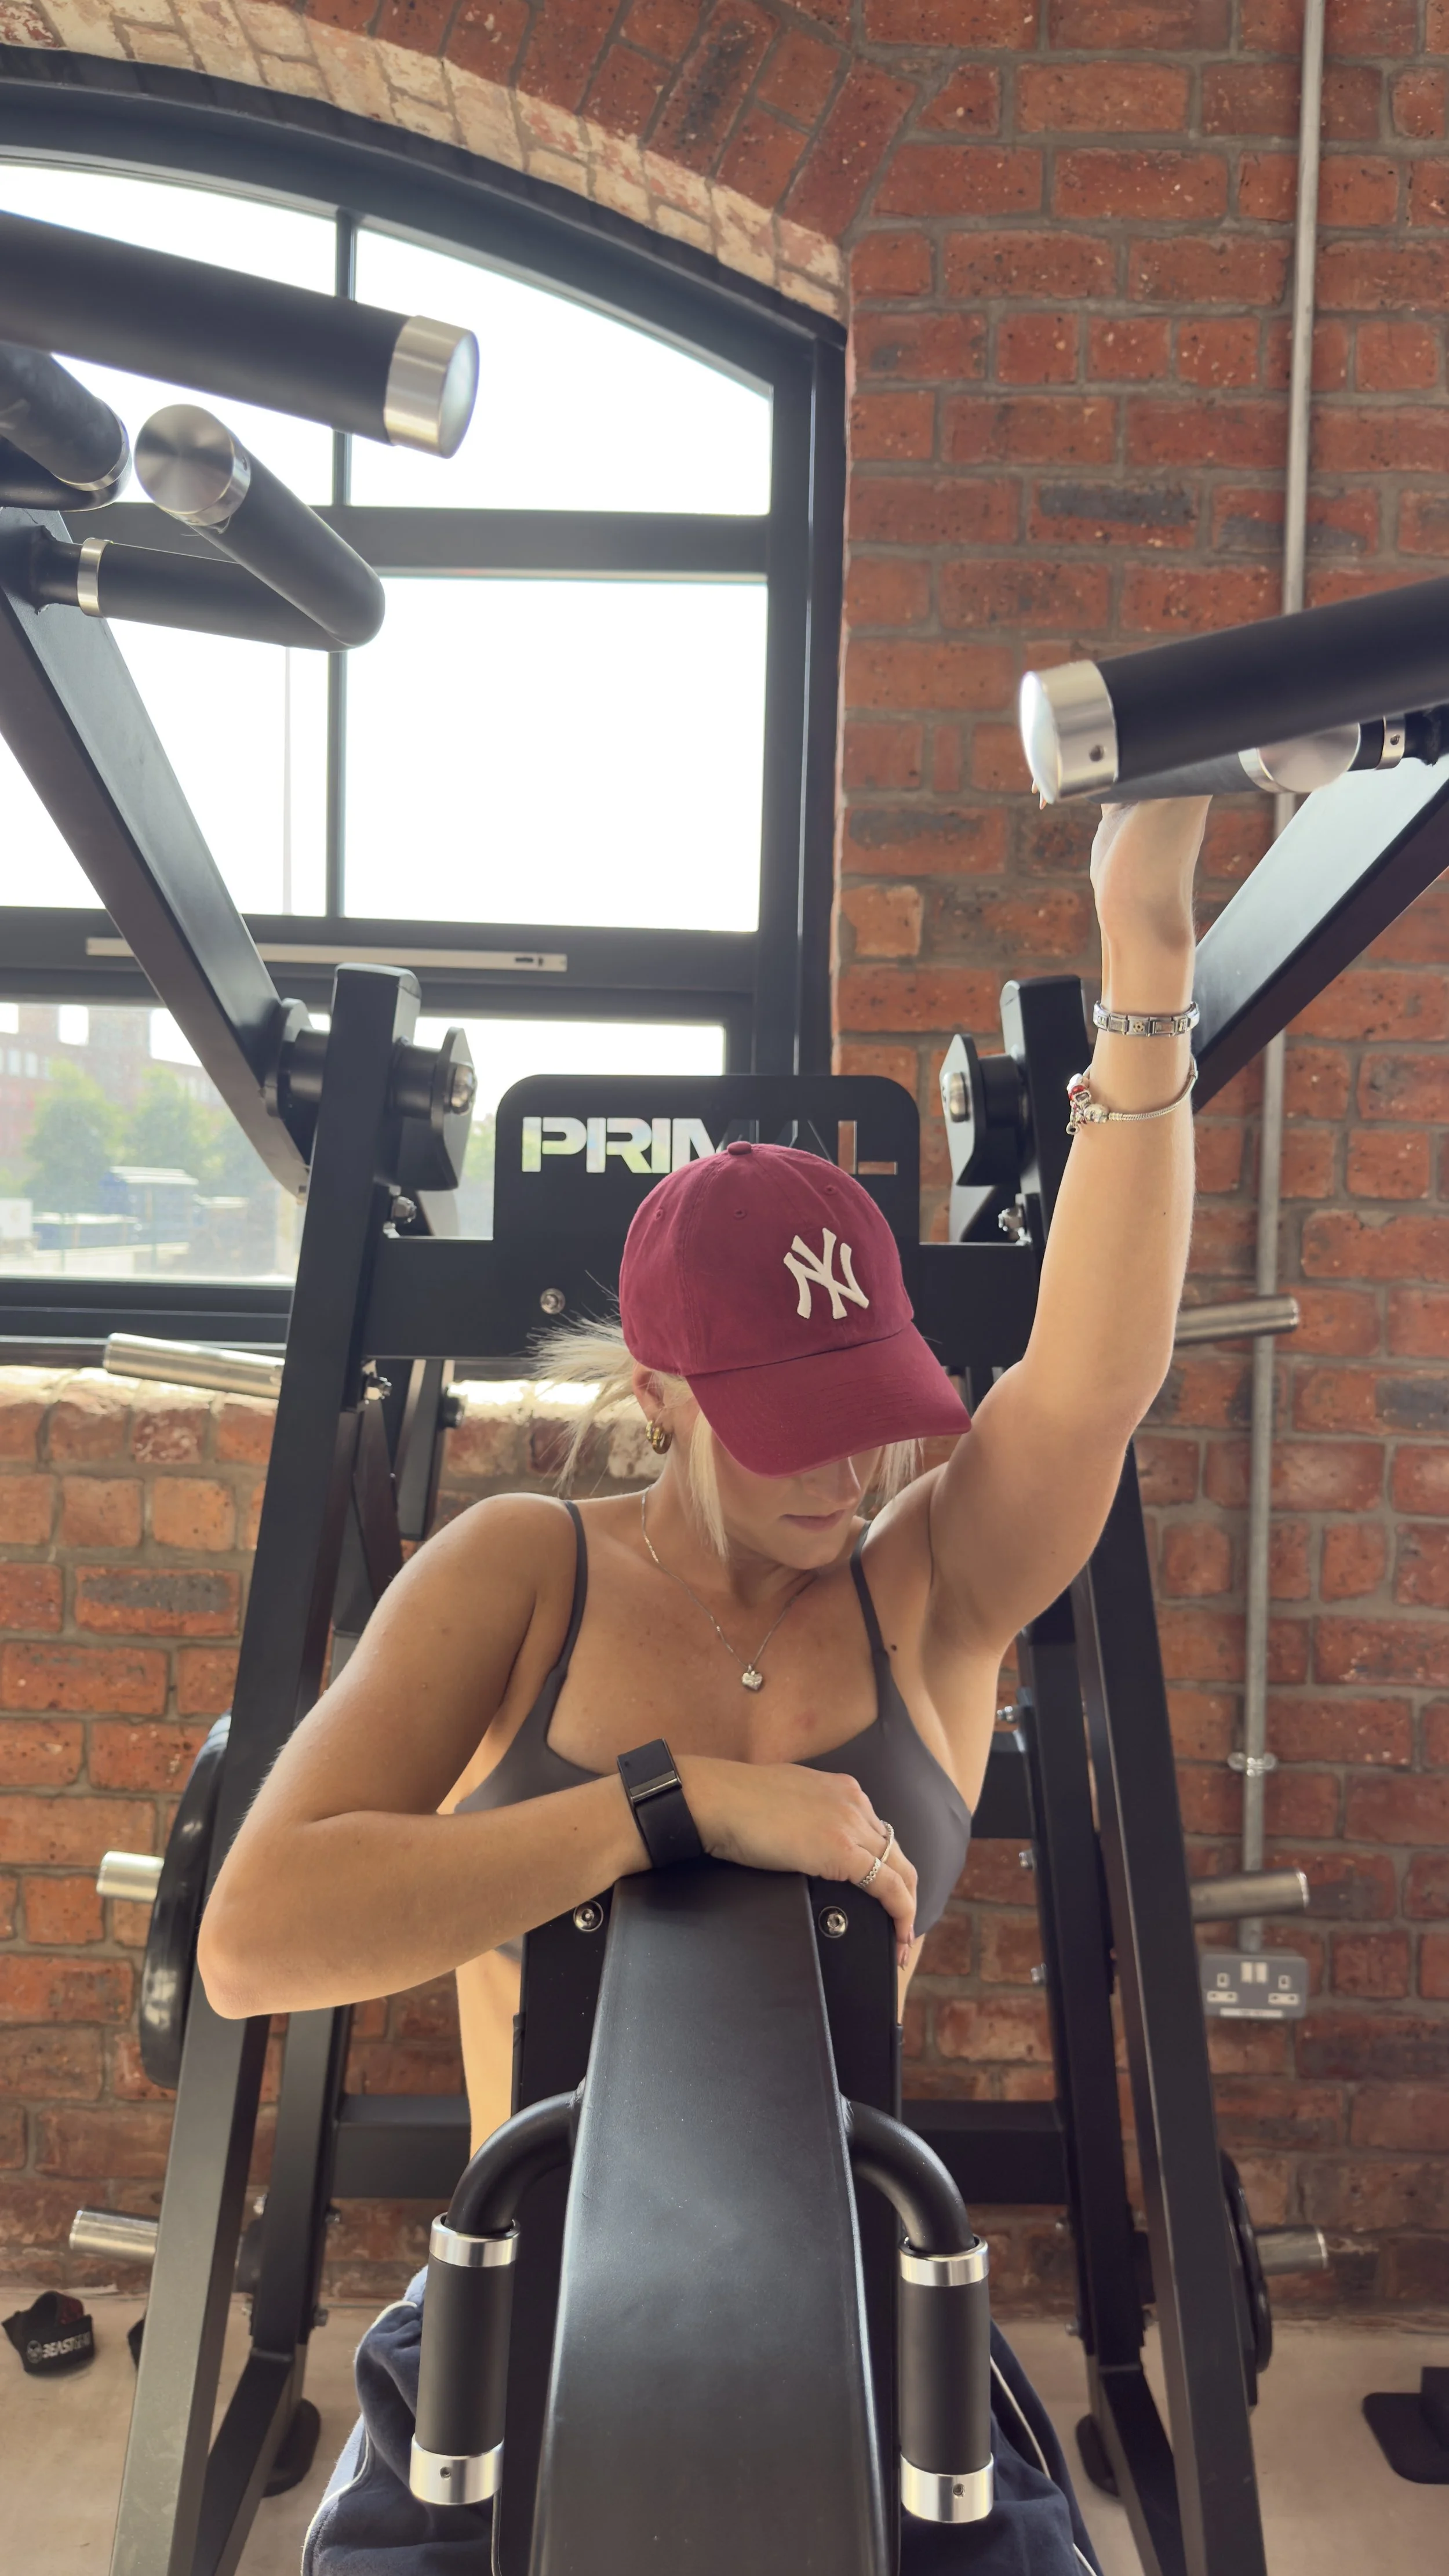
Lat Pulldown – Step by Step
Set Up – Sit at the lat pulldown machine and adjust the thigh pad so your legs are snugly secured. Grip the bar wider than shoulder-width with palms facing forward (overhand grip).
Engage Your Core – Sit tall with your chest up and shoulders back. Keep a slight lean back (about 10–15°).
Pull the Bar – Drive your elbows down and back, bringing the bar toward your upper chest. Focus on pulling with your back, not your arms.
Squeeze at the Bottom – When the bar reaches chest level, squeeze your shoulder blades together for 1–2 seconds.
Return with Control – Slowly let the bar travel back up until your arms are fully extended, keeping tension in your lats.
Repeat – Maintain form for all reps, avoiding jerking or swinging.

Lat pull downs
Seated row
Seated Row – Step by Step
Set Up – Sit at the seated row machine with feet on the platform and knees slightly bent. Grab the handles with a neutral grip (palms facing each other).
Posture Check – Sit tall with your chest up, shoulders back, and core engaged. Keep a slight bend in your knees.
Start the Pull – Drive your elbows straight back, keeping them close to your body. Focus on pulling with your back muscles rather than just your arms.
Squeeze at the End – When the handles reach your torso, squeeze your shoulder blades together for 1–2 seconds.
Return with Control – Slowly extend your arms forward until they’re straight, keeping your posture strong.
Repeat – Maintain a smooth, controlled motion for all reps without leaning too far forward or backward.
Cables -face pulls
Cable Face Pull – Step by Step
Set Up – Attach a rope handle to a cable machine at upper chest or face height. Stand facing the machine and grab the rope ends with an overhand grip (thumbs pointing toward you).
Posture Check – Step back slightly, feet shoulder-width apart, and keep a soft bend in your knees. Stand tall with your core engaged.
Start the Pull – Pull the rope toward your face, leading with your elbows and keeping them high.
External Rotation – As the rope approaches your face, flare your hands outward so the rope ends pass on either side of your head.
Squeeze at the End – Pinch your shoulder blades together and pause for 1–2 seconds.
Return with Control – Slowly extend your arms back to the starting position without letting the weight pull you forward.
Repeat – Maintain smooth, controlled movements for all reps.

tricep pull downs
Cable Face Pull – Step by Step
Set Up – Attach a rope handle to a cable machine at upper chest or face height. Stand facing the machine and grab the rope ends with an overhand grip (thumbs pointing toward you).
Posture Check – Step back slightly, feet shoulder-width apart, and keep a soft bend in your knees. Stand tall with your core engaged.
Start the Pull – Pull the rope toward your face, leading with your elbows and keeping them high.
External Rotation – As the rope approaches your face, flare your hands outward so the rope ends pass on either side of your head.
Squeeze at the End – Pinch your shoulder blades together and pause for 1–2 seconds.
Return with Control – Slowly extend your arms back to the starting position without letting the weight pull you forward.
Repeat – Maintain smooth, controlled movements for all reps.

biceps - dumbbell
tricep pull downs – Step by Step
Set Up – Attach a rope handle to a cable machine at upper chest or face height. Stand facing the machine and grab the rope ends with an overhand grip (thumbs pointing toward you).
Posture Check – Step back slightly, feet shoulder-width apart, and keep a soft bend in your knees. Stand tall with your core engaged.
Start the Pull – Pull the rope toward your face, leading with your elbows and keeping them high.
External Rotation – As the rope approaches your face, flare your hands outward so the rope ends pass on either side of your head.
Squeeze at the End – Pinch your shoulder blades together and pause for 1–2 seconds.
Return with Control – Slowly extend your arms back to the starting position without letting the weight pull you forward.
Repeat – Maintain smooth, controlled movements for all reps.
